
Connect Tableau Desktop to R in Under 30 Minutes
In this tutorial, we’ll walk through setting up an R server that we can connect our Tableau Desktop installation to in order to perform Advanced Analytics within our visualizations
Part 1: Setting up R Server
Click this link to receive $100 in account credit to spin up your Server
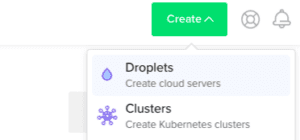
After you’re all signed up, click the Create button and select the Droplet option
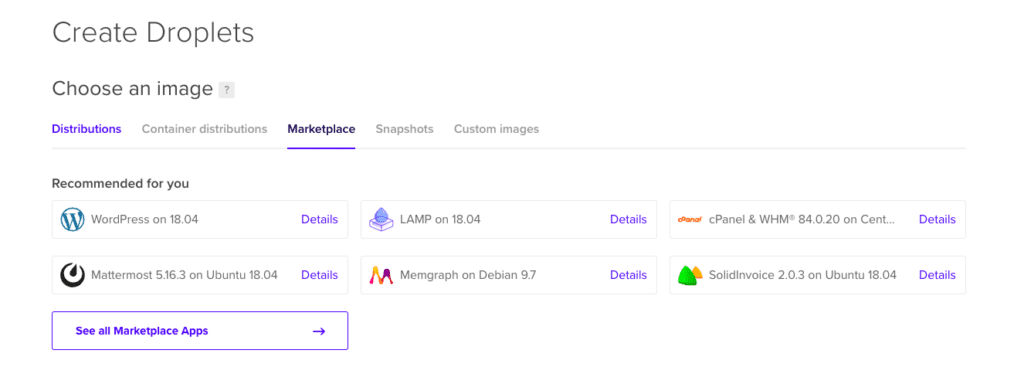
Click the Marketplace tab and select the See all Marketplace Apps option
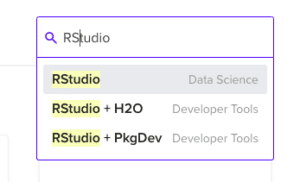
Search for RStudio and select the first RStudio option
Click on Create RStudio Droplet

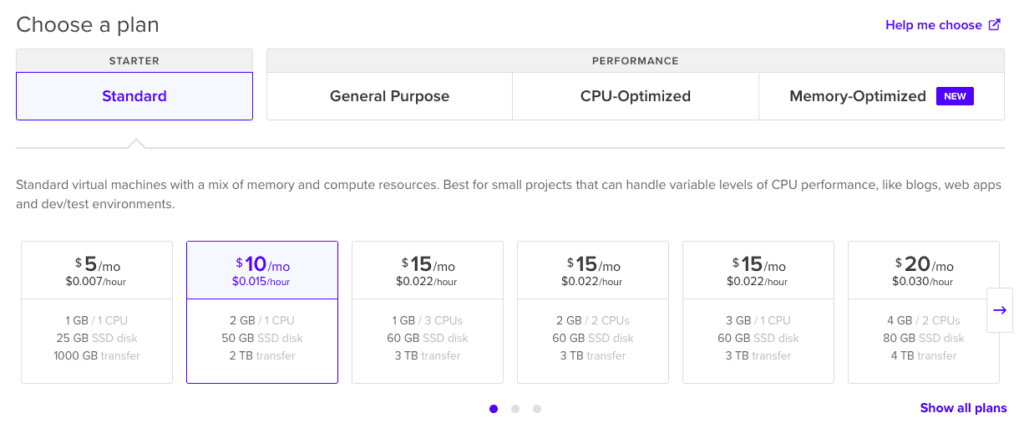
Choose the Standard $10/mo option
Choose the datacenter region that you’re closest to (the numbers 1-3 don’t matter) and make sure the One-time password button is selected
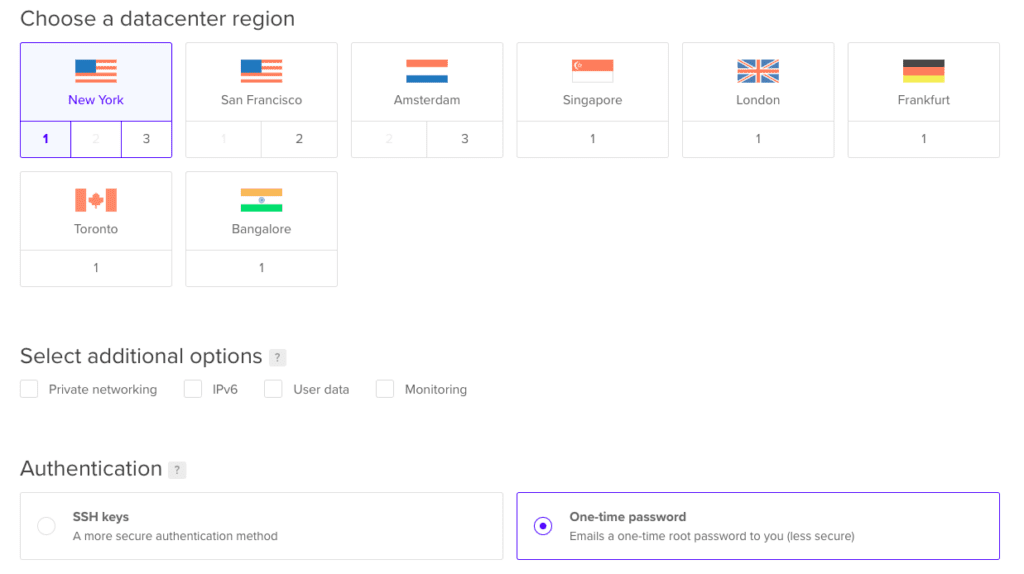
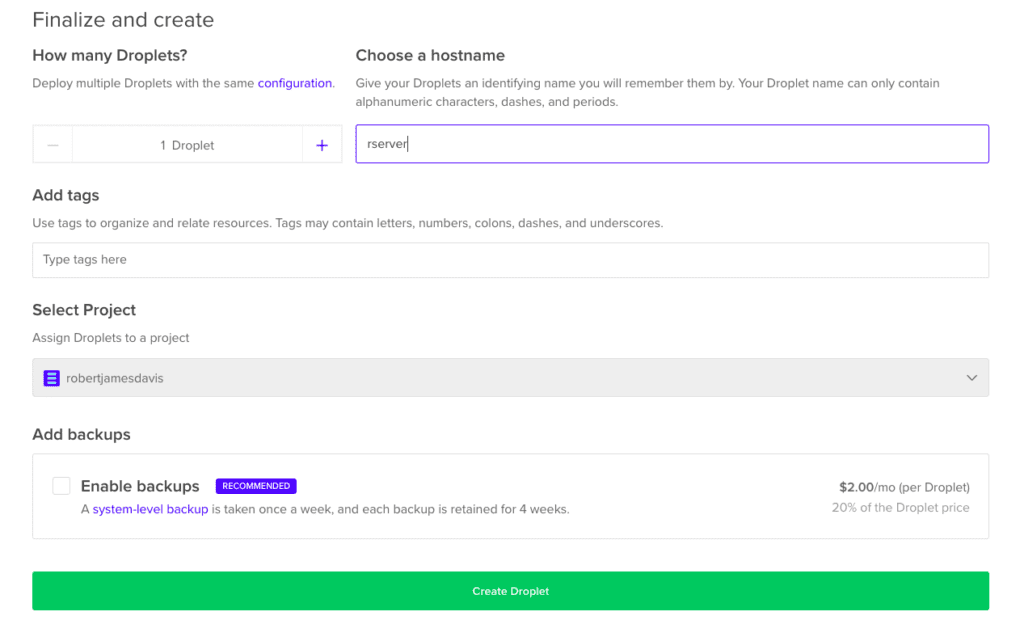
Type in whatever hostname you’d like and click on Create Droplet. The server installation will kick off and you’ll receive an email in around 5 minutes with your server IP address and Root password.
Part 2: Log into Server and Install R Packages
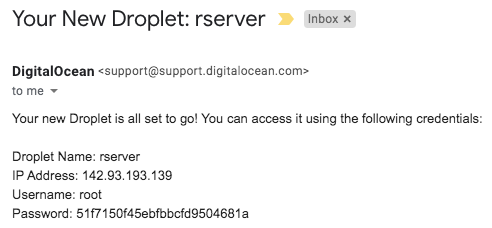
Check your email for your password. We’ll need this password to log into our droplet.
Next, let’s click into our droplet so that we can access the Console button pictured at the far right.

Click Console

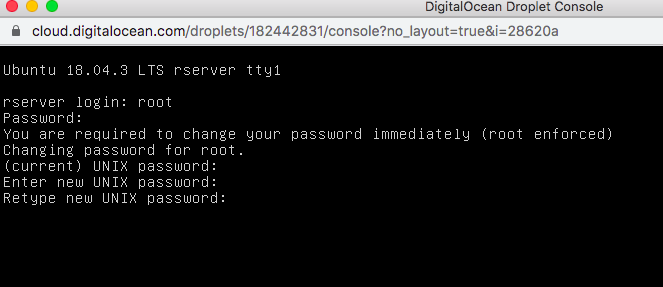
Type root and press enter
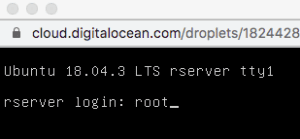
Type in the password from your email and press enter. Re-enter that same password.
Now we’ll be prompted to set up a new password. Choose whatever password you’d like
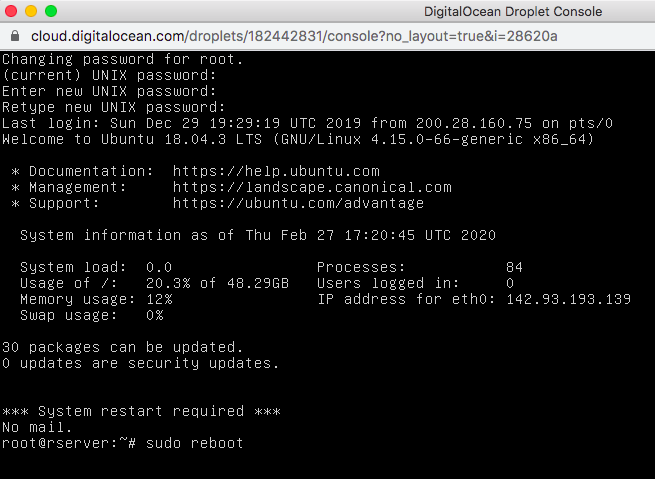
Once you’re logged in, you may need to perform a system restart. If you see a message like the one pictured type sudo reboot and wait for the login screen to show up. Log back in with the root user and your new password.
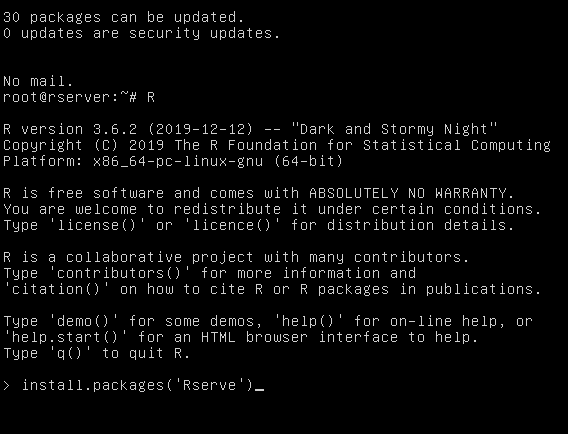
Type the letter R to enter into R Server. Now we can install some important R packages.
install.packages(‘Rserve’)
install.packages(‘forecast’)
install.packages(‘dbscan’)
install.packages(‘tidytext’)
install.packages(‘syuzhet’)
install.packages(‘SentimentAnalysis’)
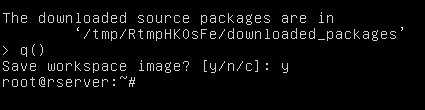
When all of the R Packages listed above have installed, go ahead and quit out of R to enter into R Server. Type q() and choose to save your workspace by typing y
Now we’ve exited R and are back to our main server screen, it’s time for the last step which is enabling Tableau to connect to our server by via remote access. Type R CMD Rserve –RS-enable-remote
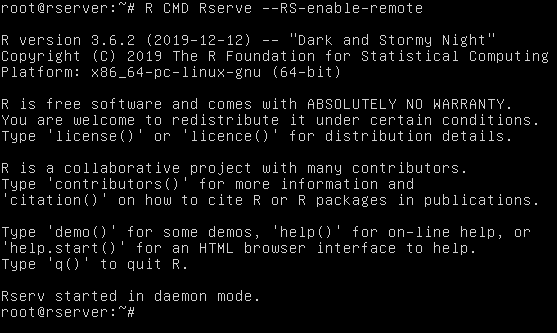
If you see that Rserve has started in daemon mode, it’s now time to open up Tableau Desktop and test the connection.
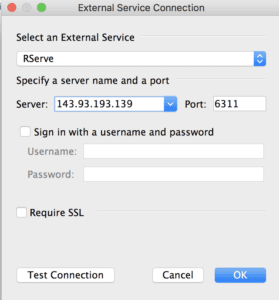
Navigate to the Help menu -> Settings and Performance -> Manage External Service Connection

Make sure that the RServe option is selected from the dropdown menu and that the port is set to 6311. Enter in your server IP address which can be found within the email containing the password or from within your droplets menu. Press test connection to verify Tableau can connect to your R server.
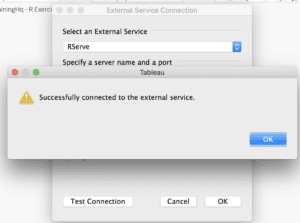
Success! If your test was successful, you can now start using R code within Tableau! If it fails, please read on.